Caravan Levelling Ramps & Wheel Chocks
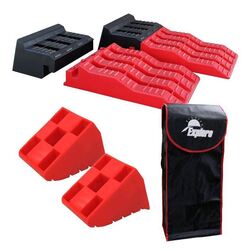
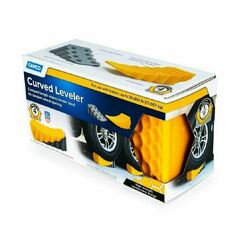
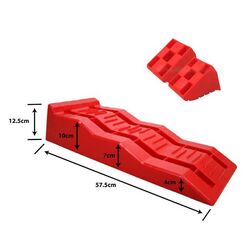
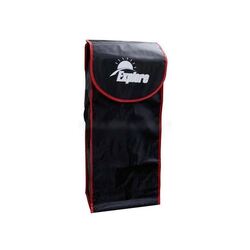
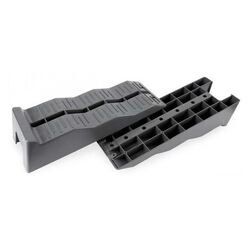
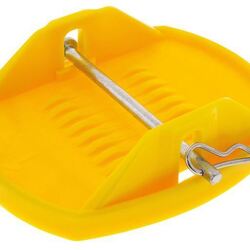
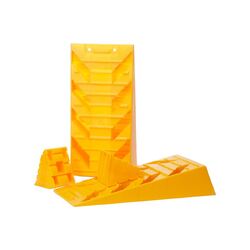
Explore Caravan BUNDLE Levelling Ramps + Wheel Chocks + Bag
Don't Pay RRP: $155.97
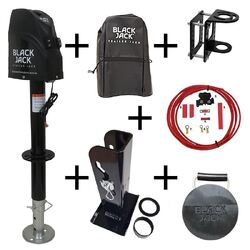
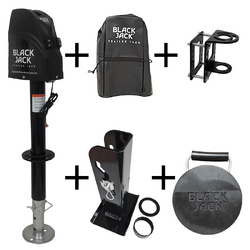
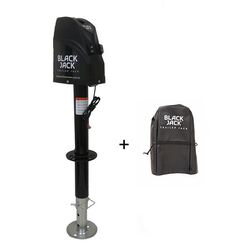
Black Jack 12V Electric Trailer Jack with Clamp & Harness Kit
Don't Pay RRP: $599.99
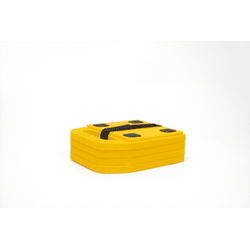
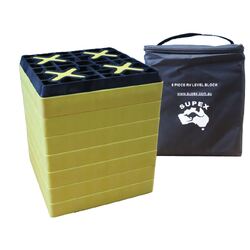
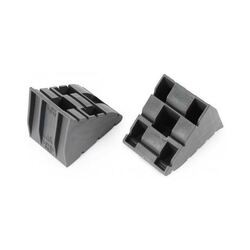
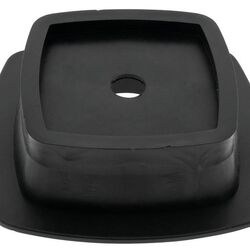
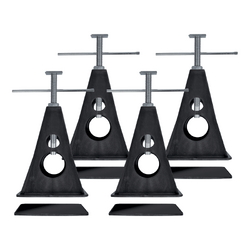
Hulk 4x4 Pkt 4 Caravan Jack Pad 3000Kg Can Be Used With Hu0207
Don't Pay RRP: $25.99
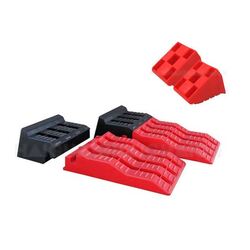
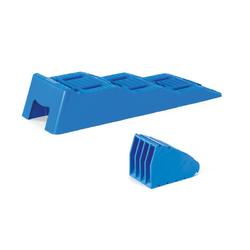
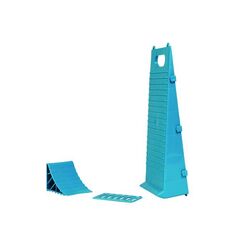
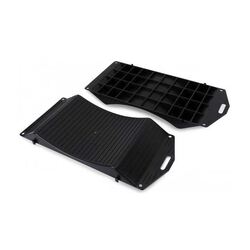
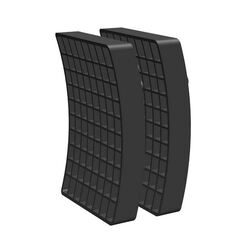
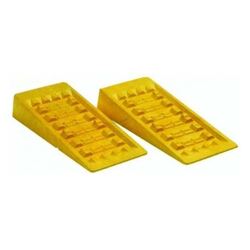
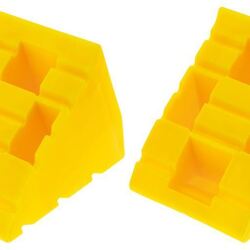
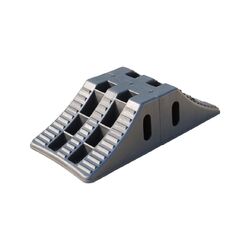
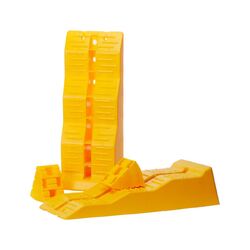
Hulk 4x4 Set 2 Levelling Ramp Chock Use With Hu0570 & Hu0575
Don't Pay RRP: $25.99
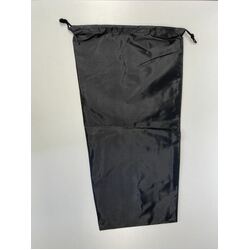
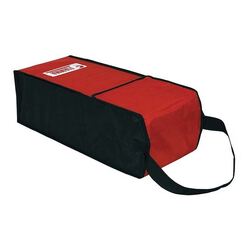
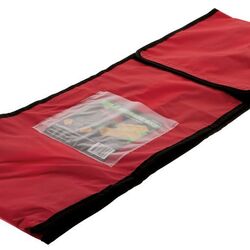
Hulk 4x4 Storage Bag For Ramp & Chock To Suit Hu0570 Hu0570-C Hu0575
Don't Pay RRP: $25.99
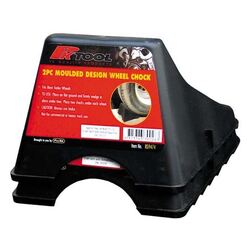
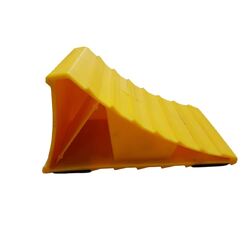
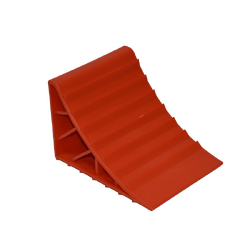
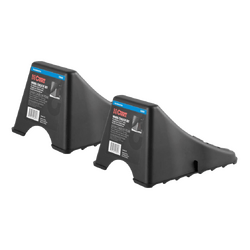
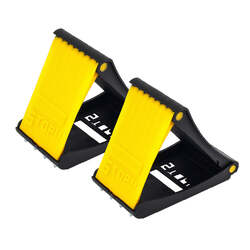
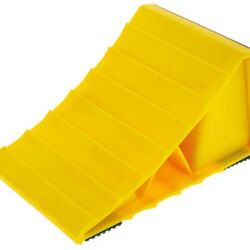
Hulk 4x4 Wheel Chock Plastic With Anti Slip L208 X W120 X H110Mm
Don't Pay RRP: $13.99
Stability with Our Range of Caravan Levellers and Wheel Chocks
Sit flat and level on any terrain with our caravan levellers from Outback Equipment. Our range of levelling ramps can adjust each wheel independently for a level caravan. Use wheel chocks to keep it secure.
Check out our collection of caravan and RV levellers and ramps below. Shop online for fast delivery across Australia.
From chocks and ramps to levels and indicators, we have everything you need to set up your caravan or RV perfectly.
Caravan & RV Levelling Ramps
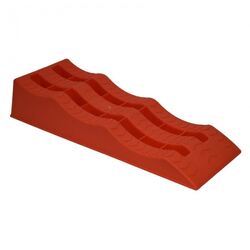
If you’ve pulled up for the night on a less-than-perfect patch of turf, some levelling ramps can give your vehicle a near-perfect platform to park. Simply bring the wheels up to the required heights, give it a check, and enjoy a far more comfortable night’s sleep.
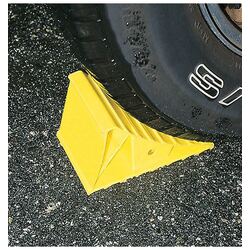
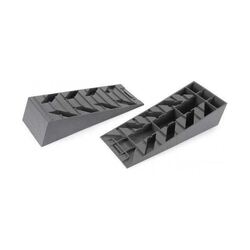
Wheel Chocks
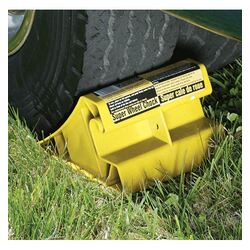
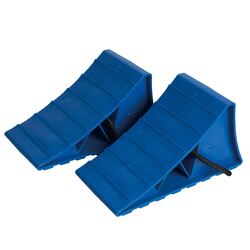
If you’ve scored yourself a flat campsite, you’re in luck. But don’t risk your RV jetting off in the night or the supports of your caravan not keeping you grounded. To keep yourself stable, make sure each wheel is supported by caravan wheel chocks.
Caravan Leveller Storage Bags & Accessories
With a proper level or indicator, you can take all the guesswork out of setting up your caravan levellers. Either follow the instructions or wait for the spirit level to give you the thumbs up, and you’ll know for sure that when you do the dishes, the water won’t fall out the side.
Tips for Levelling Your Caravan
Ensuring your caravan is sitting securely on a level surface is ideal for a number of reasons:
- Evenly distributes weight to prevent excess loads on one side of the vehicle and potentially damaging components
- Allows Caravan Appliances to work properly, i.e. fridges need to be on a level surface for optimal operation
- Allows plumbing to operate effectively, i.e. showers and sinks can drain correctly
- Makes setting up privacy screens and annexes easier and well presented
- Prevents objects from rolling away
- Makes things more comfortable without having to do everything on a slant, i.e. walking, standing, sitting, sleeping
Gauge your level
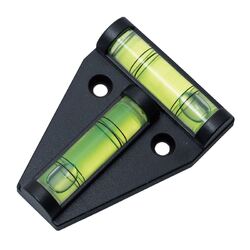
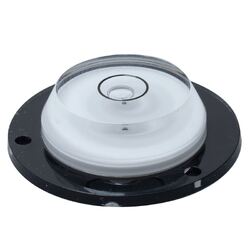
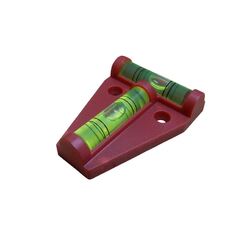
Start with an inexpensive spirit level like a 2-way/tee level or bullseye level. This helps you see how level your camper trailer or caravan is. Many people attach a tee level to the draw bar for a permanent reference. Use a second, non-fixed spirit level to check inside the caravan. Placing it on the floor in the doorway works well. Avoid using it on cabinetry as it may not be level.
How to level your caravan for your shower and fridge
When your shower is level, it should drain properly and not pool in any corners. In some instances, the design of the shower floor has prevented water from draining because the floor has been too flat. As a result, some people will level their caravan to create a slight slope for the water to direct itself into the drain. However, don’t level it so dramatically as to make everyday living uncomfortable. An absorbent cloth or sponge will usually do the job of removing excess water.
Also of particular importance is ensuring your fridge is absolutely level. Recreational vehicles like caravans mostly use absorption fridges — these use a heat source to create the energy to generate the cooling process. If an absorption fridge is off-balance the liquid refrigerant, which runs through its cooling tubes, may not be able to flow as easily, which in turn will critically reduce your fridge’s performance. Simply use a bullseye spirit level on top of your fridge to ensure a level position.
Parking
If you're on a flat surface, use a good set of chocks to keep your caravan in place. Avoid using bricks, as they are not suitable for wheels due to their shape and can slip. On uneven ground, plan your positioning and use levelling equipment. Chocks provide peace of mind when your caravan is unhitched. They prevent it from rolling away if someone tampers with the handbrake.
Levelling sideways
If you happen to have to park on a slope, it is generally recommended, if you’re able to, to park your van sideways across the slope rather than up and down the slope, so as to prevent the van from rolling. When levelling your van, specially designed levelling ramps are ideal, rather than just blocks of wood. If space allows, always drive your caravan up on to your levelling ramp (two ramps for a double axle) rather than trying to back up on to them. Your brakes will be properly engaged and you won’t be placing any strain on the coupling. Once you are parked, place some chocks behind each wheel to further secure your caravan.
Before unhitching, use the tee level to check that the caravan is level from side to side in case you need to make adjustments. Alternatively, there is equipment that you can use if you prefer to level your caravan after you have parked. You can simply jack the side of your caravan using one of our vastly popular Trail-A-Mate hydraulic jacks/jockey wheels and slip a ramp under the wheel to keep it propped up.
Levelling front to back
After unhitching and moving the vehicle, start levelling your caravan from front to back. Use a tee level to adjust using your jockey wheel or hydraulic jack. Once level, lower your corner steadies. These are for stabilising, not levelling. If tightened too much, they can damage the floor or bend the legs. Lower them only after levelling with ramps and the jockey wheel. Another option is using stabiliser legs instead of corner steadies.
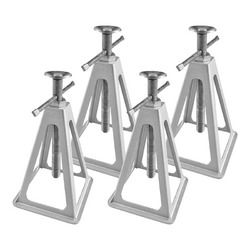
Stabiliser legs come in sets of two or four with a wide foot for stability. They can be height adjusted. They can also prop up the drawbar when adjusting or changing the jockey wheel. Jack pads provide extra stability under each stand.
If your caravan points uphill, use ramps on both sides. Backing up onto ramps is safer. Lower your corner steadies to support the rear and prevent rocking. Corner steady feet are small, so use a “big foot”/support plate/anti-sink plate under each leg for a flat surface. This prevents sinking on soft ground, keeping your van balanced and stable during camp.
To summarise:
- Equip caravan with tee level and second spirit level for interior
- Pull up on to ramps and check side to side level
- Insert chocks
- Unhitch from car by disconnecting electrics and uncoupling tow ball
- Only remove safety chain after unhitching everything else
- Move vehicle if required
- Adjust front to rear level with jockey wheel or hydraulic jack
- Lower corner steadies/drop down legs to stabilise
Order Your Levellers and Ramps Today
Keep your campsite true and level with Outback Equipment’s range of caravan-levelling ramps and chocks. Check out our collection and order yours today. View all caravan accessories.


