Iceboxes & Hard Coolers
Coleman Cooler Daintree 15L Personal Hard Cooler
Don't Pay RRP: $64.99
Coleman Cooler Daintree 28L Personal Hard Cooler
Don't Pay RRP: $99.99
Coleman Cooler Daintree 38L Wheeled Hard Cooler
Don't Pay RRP: $139.99
Coleman Cooler Daintree 44L Chest Hard Cooler
Don't Pay RRP: $159.99
Coleman Cooler Daintree 57L Wheeled Hard Cooler
Don't Pay RRP: $184.99
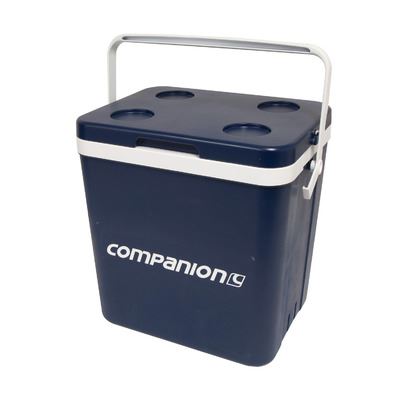
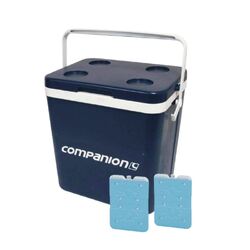
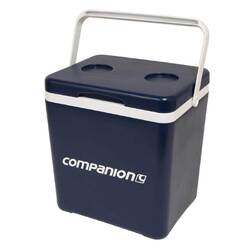
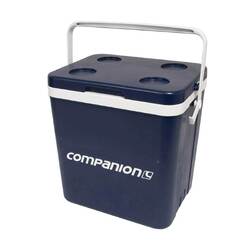
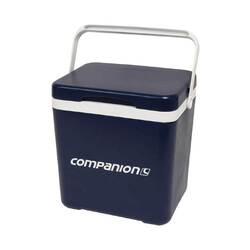
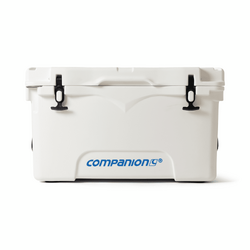
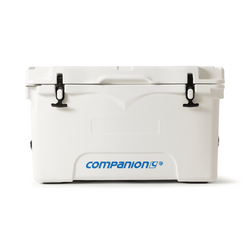
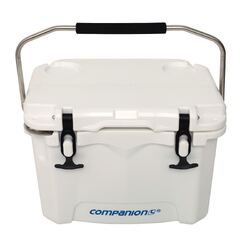
Companion Performance IceBox With Bail Handle - 15L
Don't Pay RRP: $179.99
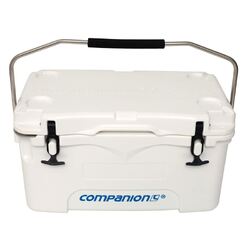
Companion Performance IceBox With Bail Handle - 25L
Don't Pay RRP: $239.99
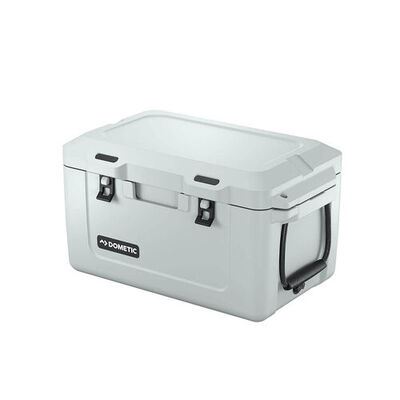
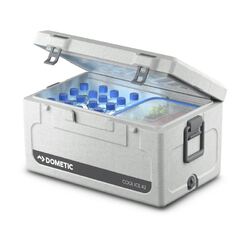
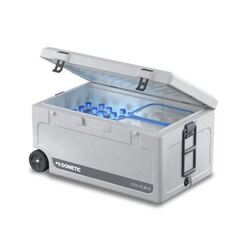
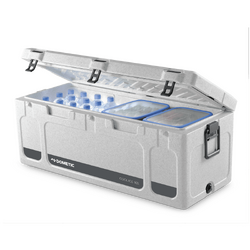
Dometic CI-85W Roto Moulded COOL-ICE 85L Ice Box With Wheels
Don't Pay RRP: $625.00
Icebox or eskies? Whatever you like to call them, at Outback Equipment we have the largest range to suit the needs of your convoy. If you don't have a portable camping fridge or freezer, keeping things cold will be one of your major issues on long excursions. While relying on ice as your primary source of cooling isn't ideal, there are a number of ways to extend its life and keep you away from civilisation for a little longer. The type of icebox you choose is crucial to the longevity of your ice. Unfortunately, the low-cost backyard icebox won't be up to the task. Insulation is crucial. Without having to plug them in, a fibreglass, thick-walled, blow-moulded Icebox is about as excellent as it gets. The more insulation there is to stop ambient heat from seeping in and internal cool from leaking out, the thicker the walls are. An icebox like this is usually more expensive, but when you're sipping a frosty cold beer four days into your journey, it'll be well worth it. Also, our recommendation is to go as big as you can comfortably accommodate. The more space you have, the more ice you can hold, allowing an icebox to stay colder for longer.
What is the difference between an icebox and a hard cooler?
Quite simply, an icebox is generally much thicker, with more insulation. This means it is traditionally used to keep food and ice frozen for up to 30% longer than what a hard cooler can. We recommend using a hard cooler for day trips, picnics and at the drive in movies.
How to get the most out of your icebox:
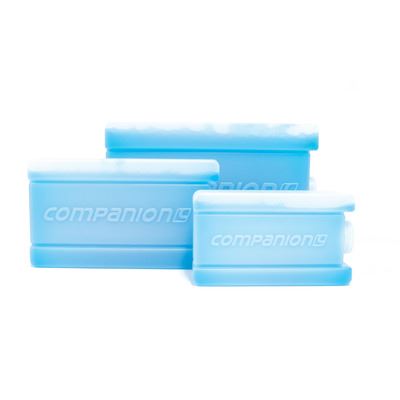
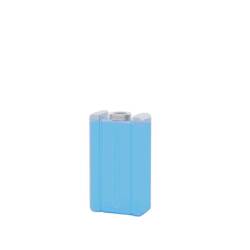
Make your own freeze bricks – 1,2 and 3L juice bottles work well for this. Fill with water (allow room for ice expansion or the cap will fly off!) and place in deep freeze 3 or more days before your departure. Before you leave, you want these to be as frozen as possible. Hot tip: Before freezing, add a few tablespoons of salt to the bottles and dissolve it in the water. Because salted water freezes at a lower temperature than ordinary water, it is substantially colder than conventional ice. If you use too much salt, the mixture may not totally freeze.
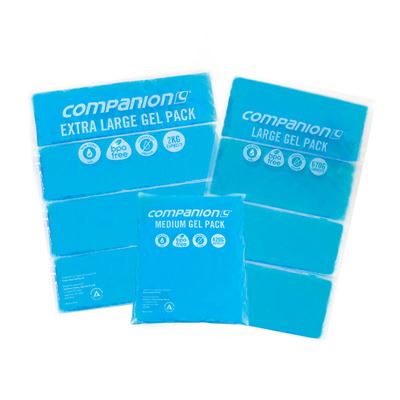
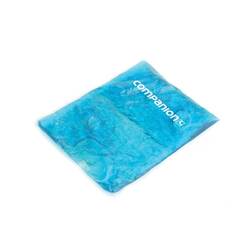
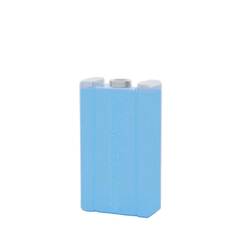
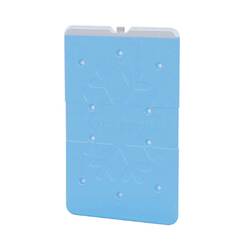
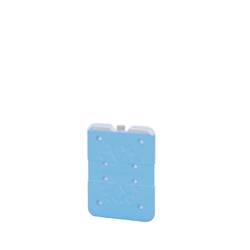
Pre-chill your icebox - Put a bag of ice in the icebox the day before you leave to get it down to temperature. Before packing, empty the previous day's ice and replace it with new ice and freeze bricks. Because converting an icebox from hot to cold consumes a lot of ice at first, it's a good idea to finish that process before adding your trip ice. Blocks, bricks, packs, and crushed ice are all successful long-term ice storage. This combination of all four types of ice has a larger mass, allowing them to stay frozen/colder for longer. Block ice and ice bricks should be used to fill the bottom and sides of your icebox. Once you've inserted your items, fill any gaps in the icebox with broken ice and ice packs.
Prepare all of the food and drinks you want to keep cold by chilling them ahead of time. Set your fridge to the coldest setting feasible without freezing liquids. Food that won't be eaten in the first two days should be frozen. Meats, breads, and ready-to-eat meals are all excellent options for freezing. If you pack your ice and food properly, the shelf life of your ice and food will be greatly extended. Using a divider or packed in layers are two useful solutions. If your icebox has a partition, you can take use of it by using one side as a temporary 'freezer' and the other as a 'fridge.' Keep frozen goods and block ice to one side, and objects that merely need to be kept cold with ice packs and broken ice to the other. a good idea If you don't have a separator, huge tupperware containers might be used instead. Layering is another effective method for keeping things cooler for longer. Frozen things will fall through the icebox's bottom and onto the block ice or freeze bricks. Add objects that need be kept extremely cold above them (raw meats, dips, butter etc). Finally, put the products that require the least amount of cooling on top (salads and fruit). Pack products in the order in which they will be consumed. Digging around unnecessarily in your icebox ruins your clean packaging and built up insulation.
Now fill up your icebox or eskies competely. If any empty space remains after you've placed your supplies, fill it with whichever of the four ice goods you can fit. This is where ice packs come in handy. Silent ice killers are air gaps. The more air that can circulate, the more difficult it is to keep everything cold. Bring two iceboxes on your trips if feasible. One is just for drinks, while the other is solely for food. Obviously, the beverages icebox is opened more frequently than the food icebox, so you can efficiently contain the cold in the food icebox without unnecessary openings. The truth is that the more you misuse the drinks icebox, the shorter the ice lasts. So it's absolutely up to you how you handle that one! Plan your trips to the icebox as well. Warm air flows into your properly refrigerated icebox every time the lid is opened. As a result, less is more. Before you go rummaging through your food supply, ask the person who packed it for recommendations and know what you need before grabbing it.
A cool, dark, and dry location is best for storing an icebox. Now, locations like these are unfortunately rare in this country, but there are a few things you can do to help. Protect the icebox by keeping it out of direct sunlight and in the shade. If storing in a vehicle, roll down a couple of windows when parked to keep the car from becoming an oven. If at all feasible, store out of the wind (the wind blows all the cold air out when you open it!) Hot tip: Shielding your icebox from intense sunlight and heat is as simple as covering it. Towels or a sunshade for your windscreen would suffice. They are really inexpensive and perform an excellent job of reflecting sunshine and heat off your icebox.
Why shop with Outback Equipment?
-
We’re Australian owned and operated – We’re based right here in the south of Brisbane. If you ever need help with an order or a product, you can call straight through to our friendly local team.
-
Plenty of payment options – You can pay via PayPal, MasterCard, Visa, zipMoney, Afterpay, and direct deposit – whichever is most convenient for you.
-
Delivered to your door – You don’t have to worry about darting across town to grab your order. We deliver your goods straight to your door to save you time and energy.
Order Your Camping Icebox Today
Stay in complete control of your kitchen with our range of camping iceboxes. For the best camping eskeis and iceboxes Australia has to offer, shop online to find the finishing touches for your recreational vehicle













.png)