Why Go Solar in Your Caravan?
Imagine this: you’ve just set up camp in the middle of nowhere, the sun’s setting, and it’s time to kick back with a cold drink… until your battery gives out and the fridge stops running.
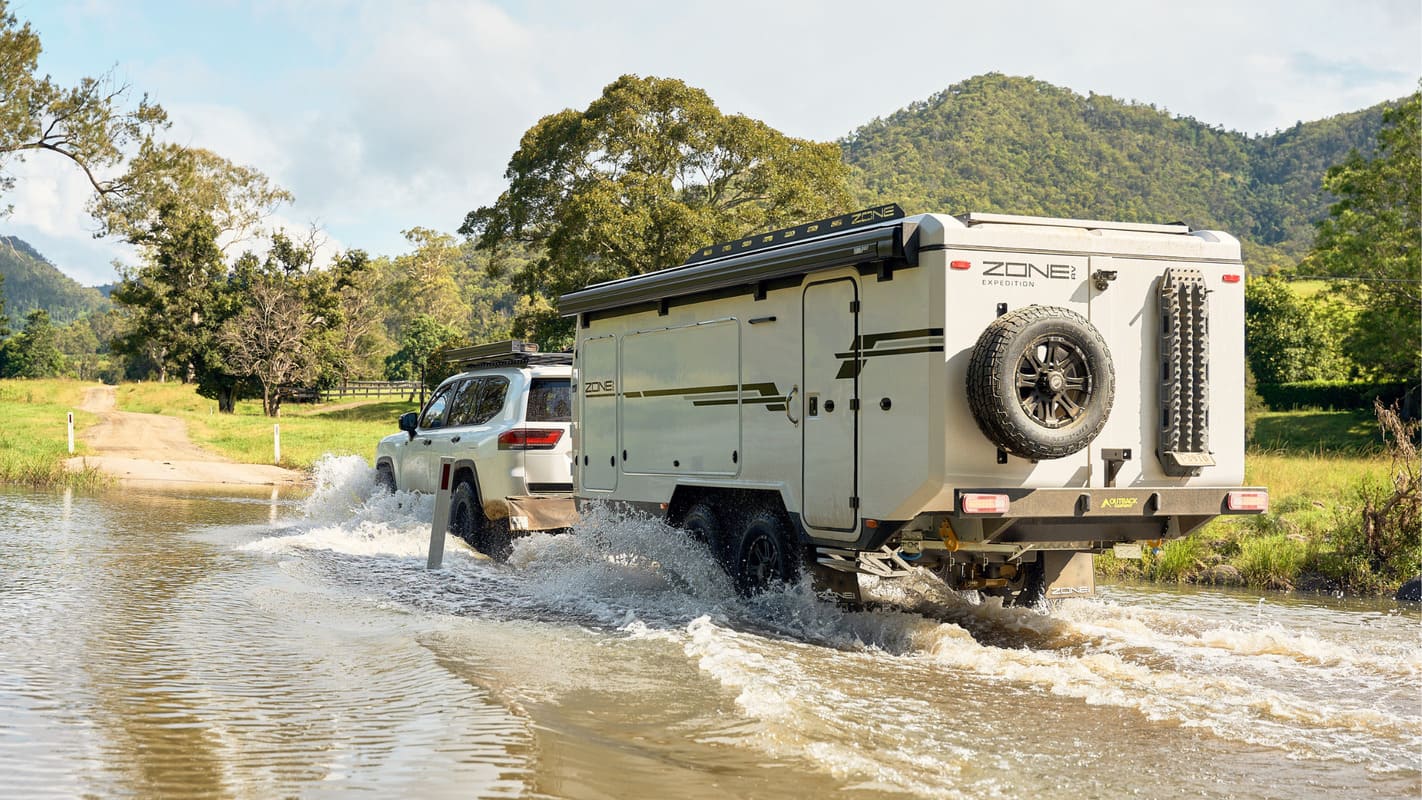
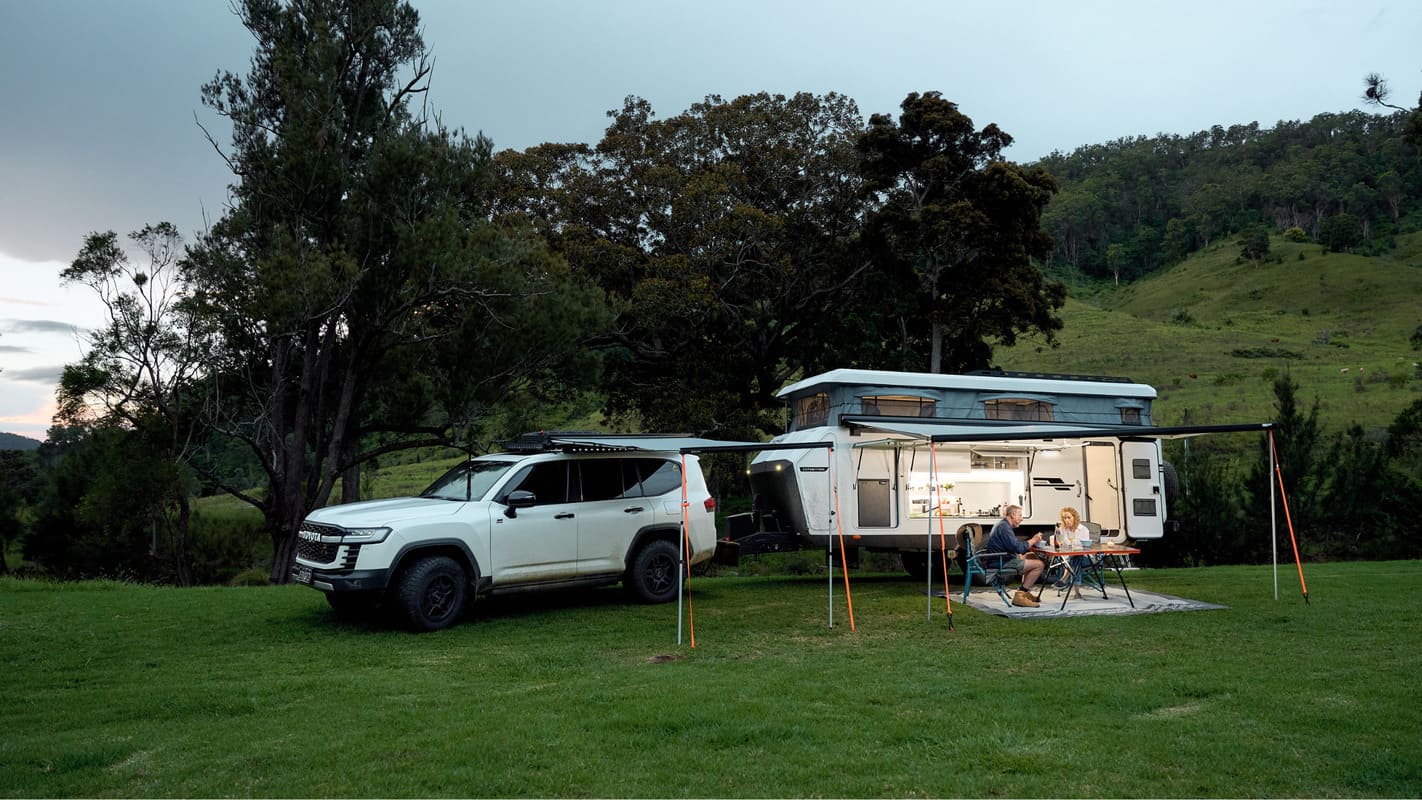
Going solar means more freedom — you can stay off-grid longer, without needing a powered site or running your vehicle to charge things up. Whether you’re travelling across the Outback or just enjoying a weekend getaway, having a reliable solar setup gives you peace of mind and more time to relax.
This guide is here to walk you through how to set up solar on your caravan — in simple terms. We’ll cover:
- What parts you need (and why)
- How much power to plan for
- A step-by-step install guide anyone can follow
- And a few extra tips to make it all easier
Let’s get your solar sorted — without the guesswork.
What You’ll Need (Checklist)
Before you start climbing on the roof or pulling out wires, it’s best to get everything ready. Here’s a list of tools and gear you’ll need to install solar on your caravan.
Basic Gear
- Solar panels – fixed, portable or flexible (we’ll explain these in the next section)
- Battery – lithium is best, but AGM can work too
- Solar regulator – controls the flow of power so you don’t damage your battery (MPPT is ideal)
- Cables and connectors – to run power safely from the panel to the battery
- Mounting brackets or adhesive – for securing the panel to your roof
- Inverter (optional) – if you want to run 240V appliances like kettles, toasters, or laptops
Tools You’ll Likely Need
- Cordless drill (with drill bits)
- Screwdrivers
- Wire strippers
- Snips or side cutters
- Electrical tape
- Silicone sealant or caulking gun
- Safety gloves
- Multimeter (optional but handy for testing power)
Pro Tip: You can also buy solar panel kits that include most of these parts in one box — just add your battery and inverter and you’re good to go.
Keep all your parts and tools within reach before you start. That way, you won’t get halfway through the job and realise you’re missing a crucial cable or bracket.
How Much Power Do You Need?
Before you pick your solar panel or battery, you’ll want to figure out how much power you actually use each day. Don’t worry — we’ll keep it simple.
1. The Basics (Watt, Volt, Amp — What’s the Difference?)
- Watt (W) is how much power something uses.
- Volt (V) is the pressure pushing the power.
- Amp (A) is the flow of power.
To figure out how much current (amps) something uses:
Watts ÷ Volts = Amps
Example:
A 24W fan running on 12V power:
24 ÷ 12 = 2 amps
2. Common Caravan Appliances & Power Use
| Appliance | Approx. Usage |
|---|---|
| LED light | 0.5 amps/hour |
| Small fridge | 1–3 amps/hour |
| Large fridge | 3–5 amps/hour |
| Water pump | 3–5 amps/hour |
| Laptop or TV | 4–6 amps/hour |
| Microwave / Kettle | 20–50 amps/hour |
| Phone charger | 1 amp/hour |
Always check your actual appliances — these numbers are just averages.
3. Step-by-Step: Rough Power Plan
- List everything you use in a day (e.g. lights, fridge, TV)
- Work out how long you use each thing per day
- Multiply amps × hours for each appliance to get daily use
- Add it all up to get your total amp hours (Ah) per day
Example:
- 2 LED lights (0.5A) used for 4 hours = 4Ah
- Fridge (2A) running 24 hours = 48Ah
- Phone (1A) charging 2 hours = 2Ah
Total = 54Ah per day
4. Picking the Right Battery Size
If you're using a lithium battery, you can use nearly all of its capacity.
If you’re using AGM or Gel, only use 50% to avoid damage.
So for the example above:
- 54Ah per day × 2 days off-grid = 108Ah needed
- If using AGM, double that = 216Ah battery bank
Pro Tip: Lithium batteries may cost more upfront, but they last longer, charge faster, and give you more usable power.
Picking the Right Solar Panel
Once you know how much power you need each day, it’s time to choose a solar panel that can keep up. The goal is to generate more power than you use — especially if you want to stay off-grid for a while.
There are three main types of solar panels for caravans:
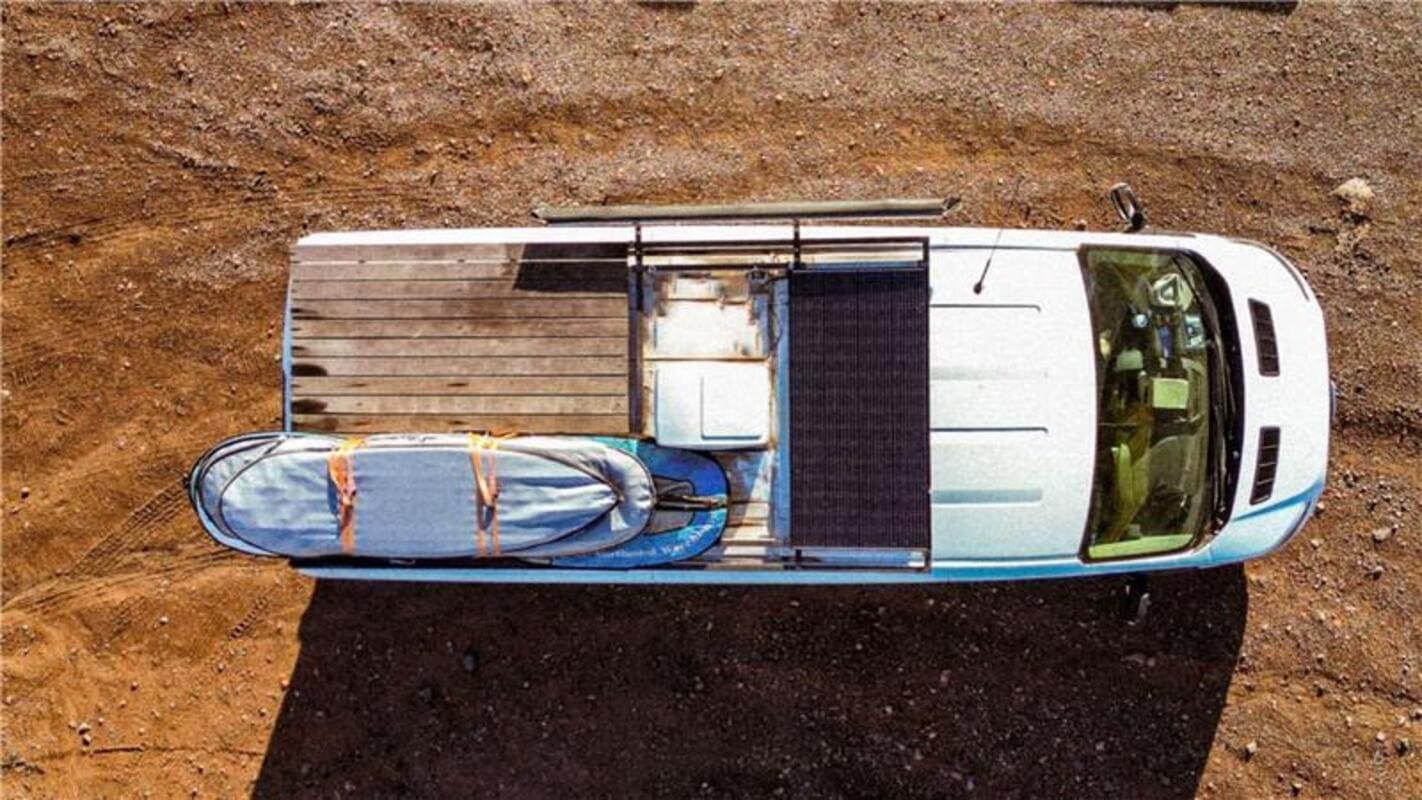
1. Fixed Panels (Roof-Mounted)
These are installed on the roof and always working when the sun’s out.
Pros:
- Set and forget
- No setup each time you stop
- Safe from theft
Cons:
- Can’t angle toward the sun
- Less effective in shady spots
2. Portable Folding Panels
These can be packed away and set up when you camp.
Pros:
- You can move them into the sun
- Don’t take up roof space
Cons:
- Can be stolen if left out
- Takes time to set up and pack down
- Need storage space inside
3. Flexible Panels
These are lightweight and can bend slightly to suit curved roofs.
Pros:
- Great for tight or curved spaces
- Lighter weight
- Easy to clean
Cons:
- Usually cost more
- Can get hotter and lose efficiency in full sun
How Many Watts Do You Need?
Most caravan solar panels are 100W to 200W.
A 200W panel in good sunlight can give you around 10 amps per hour, which means about 50–70Ah per day — enough for basic use like lights, a fridge, and phone charging.
You can also add more panels later if your system allows. Many people start with one and build up.
Pro Tip: If you plan to run high-power appliances (like a microwave or coffee machine), you’ll also need an inverter and a bigger battery bank.
Step-by-Step: How to Install Solar on Your Caravan
You’ve got your panel, battery, regulator, and tools. Now let’s get it all installed — safely and in the right order.
Before You Start
- Make sure everything is turned off — especially your battery.
- Double-check your parts: panel, regulator, cables, fuses, and battery.
- If you’re unsure about wiring, talk to a licensed auto sparky.
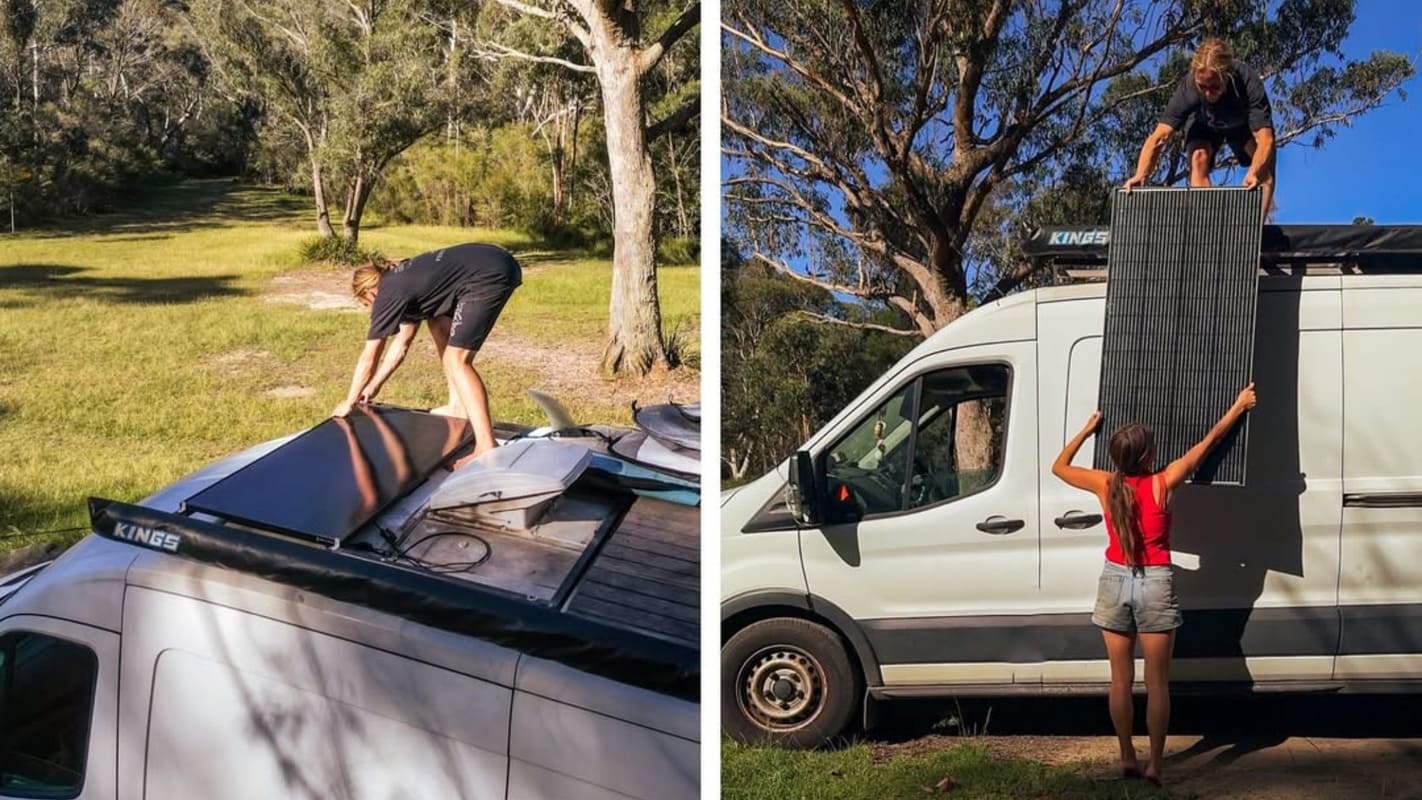
Step 1: Clean and Prep the Roof
- Wash the area where the panel will go using soap and water.
- Let it dry fully — your adhesive or brackets will stick better.
Step 2: Mount the Solar Panel
You can:
- Screw it down using brackets
- Glue it on using strong adhesive (good for flat roofs)
Make sure there’s airflow underneath the panel if using brackets — this helps keep it cool and working efficiently.
Step 3: Drill and Seal the Entry Hole
- Mark where the wires will enter your van.
- Drill a clean hole and use a rubber grommet or entry gland to protect the cable.
- Seal around the hole with silicone to stop water leaks.
Tip: Have someone inside to watch for ceiling panels while you drill from the top.
Step 4: Run the Wires
- Feed the cables down into the van.
- Secure them along the way using cable ties or stick-on clips.
- Keep cables neat, away from sharp edges or heat sources.
Step 5: Connect to the Regulator and Battery
Order matters!
- Connect the regulator to the battery first
- Then connect the solar panel to the regulator
Add a fuse between the battery and regulator, and another between the panel and regulator, for safety.
Step 6: Test Your System
- Turn the battery back on.
- Check the regulator screen or use a multimeter to see if the panel is charging.
- Step into the sun — your battery should start topping up!
Pro Tip: Label your cables (positive and negative) clearly — it saves heaps of confusion later.
That’s it! Your panel is now installed and working. In the next section, we’ll go over optional extras like inverters and portable plug-ins.
Inverters and Extras (Optional Add-Ons)
If you just want to run lights, a fridge, and charge your phone — your solar panel, battery, and regulator setup might be all you need.
But if you want to run 240V appliances (like a toaster, laptop charger, or coffee machine), you’ll need an inverter.
What’s an Inverter?
An inverter changes your caravan’s 12V battery power into 240V — the same type of power you get from a normal wall socket at home.
There are two main types:
- Pure sine wave – Best for electronics (TVs, laptops, appliances)
- Modified sine wave – Cheaper, but not great for sensitive gear
Tip: Always choose pure sine wave if you’re plugging in anything valuable or electronic.
How to Connect an Inverter
- The inverter connects directly to your battery
- Use thick battery cables and short runs for safety
- Add a fuse between the battery and inverter
Other Handy Extras
- Anderson plugs – Great for plugging in portable folding panels
- Battery monitor – Lets you see how much power you’re using and what’s left
- DC-DC charger – Charges your battery while you drive using your car’s alternator
- 240V battery charger – Charges from mains power when you're on-grid
Keep It Flexible
You don’t need to do everything at once. Start with a basic setup, and upgrade later with:
- Extra panels
- Bigger battery bank
- Inverter
- Portable add-ons
Safety Tips for Your Caravan Solar Setup
Solar power is safe to use — but only if it’s installed properly. Here are some must-follow safety tips to keep your setup running smoothly and avoid any accidents.
Don’t Wire Anything While It’s Live
Always disconnect your battery before wiring or changing anything. This stops short circuits and electric shocks.
Use Fuses on Both Sides
Install a fuse:
- Between your solar panel and regulator
- And between your regulator and battery
This protects your gear from power surges or damage if something goes wrong.
Label Your Cables
Use red for positive (+) and black for negative (–), and label both ends clearly. It saves heaps of time when troubleshooting later on.
Use the Right Cable Size
Don’t skimp on cable thickness. Undersized cables can overheat or drop voltage.
For most caravan solar setups, 6mm² UV-rated wire is a good starting point — but check your regulator’s instructions.
Know When to Call a Pro
If you’re not 100% confident with wiring or unsure about inverters and load limits, get a licensed auto electrician to double-check or finish the job.
Bonus Tip: After installing, check all connections after the first drive or bumpy road. Things can shift or loosen with travel.
Final Thoughts + Handy Checklist
Installing solar on your caravan might seem tricky at first, but once you break it down, it’s totally doable — even for first-timers.
With the right setup, you can:
- Keep your fridge cold
- Charge your phone and lights
- Stay off-grid longer
- Enjoy more freedom on the road
Whether you’re heading to the bush, the beach, or beyond, having a solar system you can rely on means fewer worries and more good times.
Quick Recap Checklist
Gear & Tools
- Solar panel (fixed, portable or flexible)
- Solar regulator (MPPT is best)
- Battery (lithium or AGM)
- Inverter (for 240V gear – optional)
- Fuses, wiring, connectors
- Mounting brackets or adhesive
- Tools: drill, wire strippers, screwdrivers, silicone
Before You Start
- Work out how much power you’ll use daily
- Choose panel size and battery to match your needs
- Prep your tools and parts
Install Steps
- Clean the roof
- Mount the panel securely
- Drill entry hole and seal with silicone
- Run wiring neatly to your regulator
- Connect battery → regulator → panel (in that order!)
- Add fuses and label wires
- Test your system in sunlight
Final Tip
Start simple, and build as you go. You can always add another panel, bigger battery, or inverter later — but getting the basics right is the best first step.
Need a Hand?
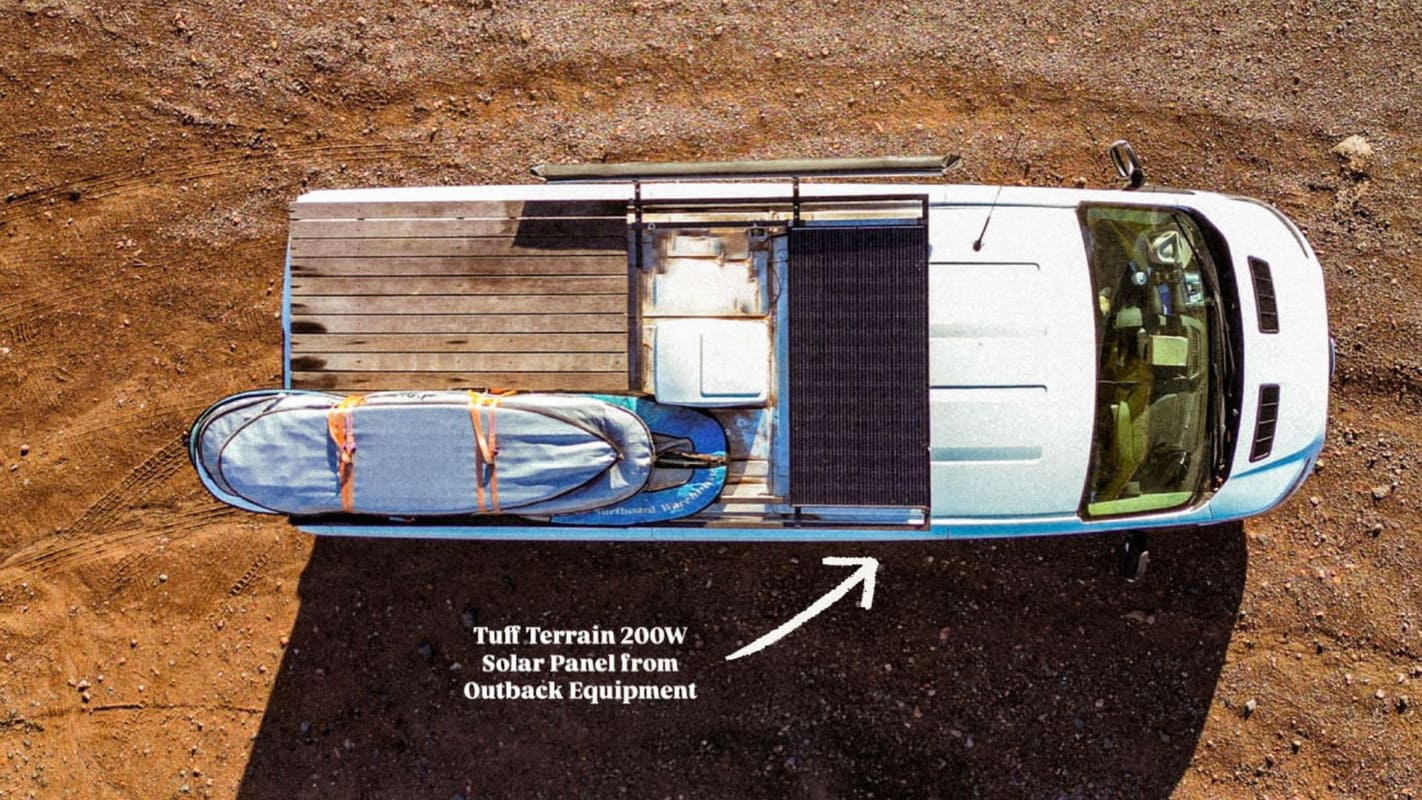
At Outback Equipment, we stock solar gear from brands you can count on. If you're just starting out, Tuff Terrain is a great option for good value. If you want top-quality gear, we also have trusted brands like Redarc, Enerdrive, Victron, and Projecta. Whether you need solar panels, a charger, battery, or inverter, we’ve got everything to help power your caravan or camper anywhere in Australia.
Not sure which panel or battery suits your setup?
Get in touch with our expert team at Outback Equipment — we’ll help you pick the right gear and get you powered up properly for the Aussie outdoors.
