How to Season Your Canvas Swag or Tent
Why Seasoning Your Swag or Tent is a Must
Imagine this: you’re out camping, the fire’s glowing, the air’s crisp — and then the rain hits. By morning, your sleeping bag is wet, your canvas swag is leaking, and your gear is soaked through. Not the adventure you were hoping for, right?
This is exactly why seasoning your swag or tent is so important. It’s a simple canvas waterproofing process that helps seal up the tiny holes left behind by the stitches during manufacturing. These holes may be small, but they’re prone to leaking, especially in the seam areas. Without proper seasoning, water can seep in and lead to discomfort, mould, or even damage over time.
Luckily, the process of seasoning is easy. By soaking and drying your canvas material a few times, you cause the fibres to expand and contract, naturally closing up those gaps and boosting water resistance. Do it right, and your tent or swag will be ready to take on whatever the outback throws at it — rain, wind, or wear and tear.
In this guide, we’ll show you everything you need to know to season your swag or canvas tent like a pro, with tips for best results and how to inspect for leaks. Let’s get started and make sure your gear is properly seasoned and adventure-ready.
What You’ll Need to Season Your Swag or Tent
Before you start the process of seasoning your canvas swag or tent, make sure you’ve got the right setup. Here’s a list of simple gear you’ll need to get it done properly:
Checklist
- A flat outdoor area
Preferably a driveway, backyard, or balcony with good airflow and sunshine. You need space to erect your swag or tent fully. - Hose with a 'shower' setting
A gentle spray is perfect to soak the canvas without damaging the waterproofing treatment. Avoid pressure washers — they can wear down the material and cause leaks. - Two to three sunny days in a row
The drying process is just as important as the soaking. Aim for warm, dry weather so your swag can dry completely between each round.
With these basics ready, you’ll be set up for the best canvas waterproofing results. Up next: the step-by-step process to make sure your gear is fully waterproof before your next outback trip.
How to Season Your Swag or Tent – Step-by-Step
Seasoning might sound technical, but it’s really just about getting your canvas used to the outdoors before you are. Follow these simple steps to prepare your gear and help prevent leaks down the track.
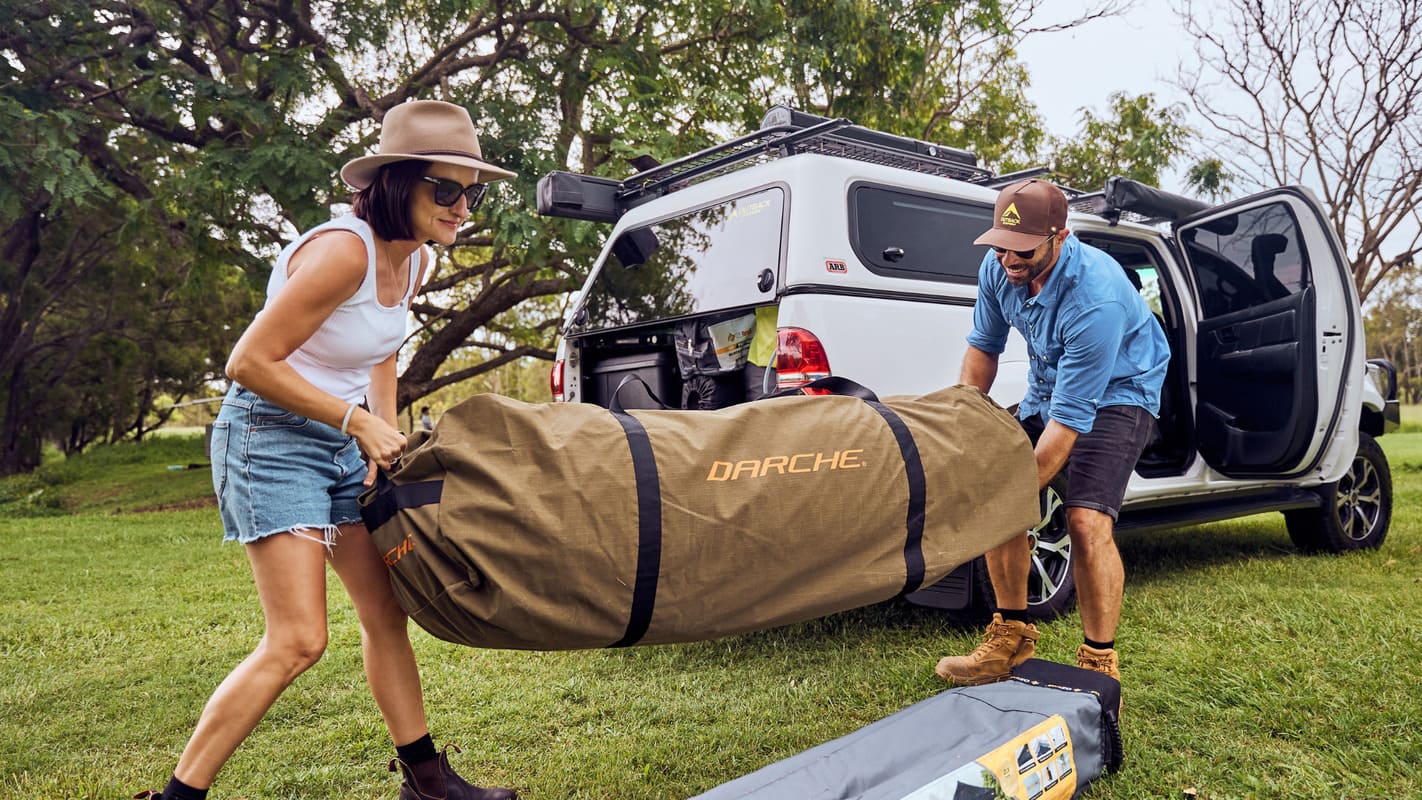
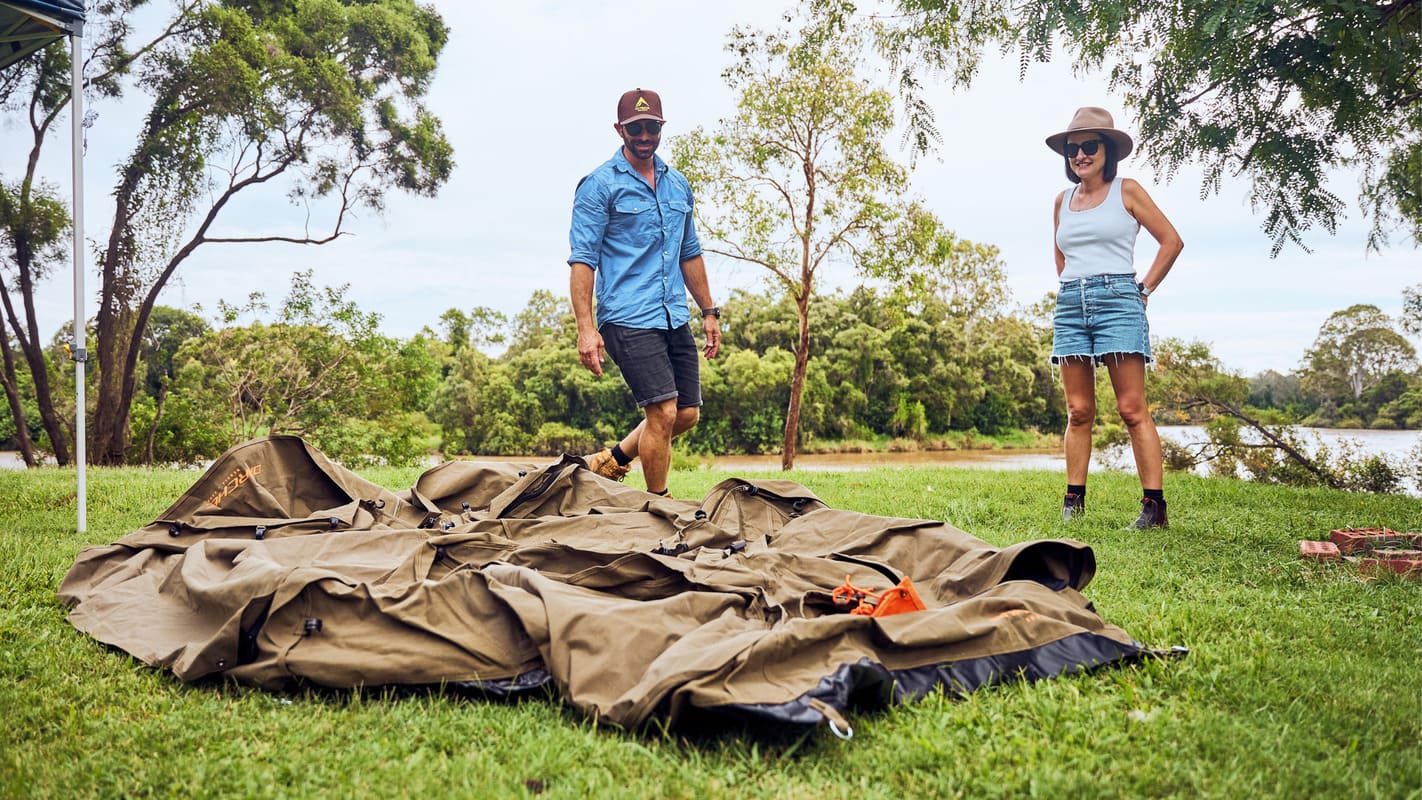
Step 1: Set It Up Properly
Choose a flat, open space and fully set up your swag or tent. Make sure it’s pitched tight and even — using all the poles, pegs, and guy ropes. If it's uneven, the fabric might stretch the wrong way as it dries, which can affect the final shape and performance.
If it’s a swag, remove the mattress before you begin. That’ll help avoid trapping any moisture inside during the process.
Step 2: Soak the Fabric
Using your hose on a gentle shower setting, spray the entire outer surface. Pay extra attention to stitched areas like seams and zippers. Repeat this process. You want the fabric to get completely saturated — not just damp — so water starts to bead, then soak into the fibres. This causes the material to expand, helping close up small gaps caused by stitching. This is why it's essential to pay extra attention to the seams.
Keep soaking for about 3 to 5 minutes, then stop.
Step 3: Let It Dry Out
Leave the setup outside and give it plenty of time to dry fully. This step is crucial, as the material dries, it naturally contracts, helping to seal up any tiny holes that were opened during manufacturing.
Good airflow and sunlight make a big difference here. Don’t pack it away until it feels completely dry to the touch.
Step 4: Repeat the Process
For the best outcome, do the soak-and-dry routine at least two more times over the next few days. Each round will help the canvas settle in and become more water-resistant. This is the best way to take care of your gear. You’ll probably notice less water soaking in each time.
Step 5: Inspect and Seal If Needed
After the final round, check inside your swag or tent. If there is water still coming through, do another round until there are no leaks. If you’re concerned about a product fault, contact the company you purchased it from.
If you’ve got an old swag that is showing signs of water coming through after many years of use, especially along seams, and re-seasoning isn’t working like it used to, you may want to apply a seam sealer. It’s easy to do and gives extra peace of mind before you head off on your trip.
Once you’ve followed these steps, your gear is seasoned and ready to face the elements. Up next: extra care tips to keep your canvas in top shape for years to come.
Extra Tips to Keep Your Swag or Tent in Top Shape
Now that your gear is seasoned, here are a few smart tips to help it stay that way. A little extra care goes a long way in boosting durability and making sure your canvas performs at its best — trip after trip.
Never Pack It Away Wet
Even after your swag or tent is seasoned, storing it while it’s still damp can lead to mould growth, bad smells, and damage to the fabric. Always let it dry completely before rolling it up or stashing it away.
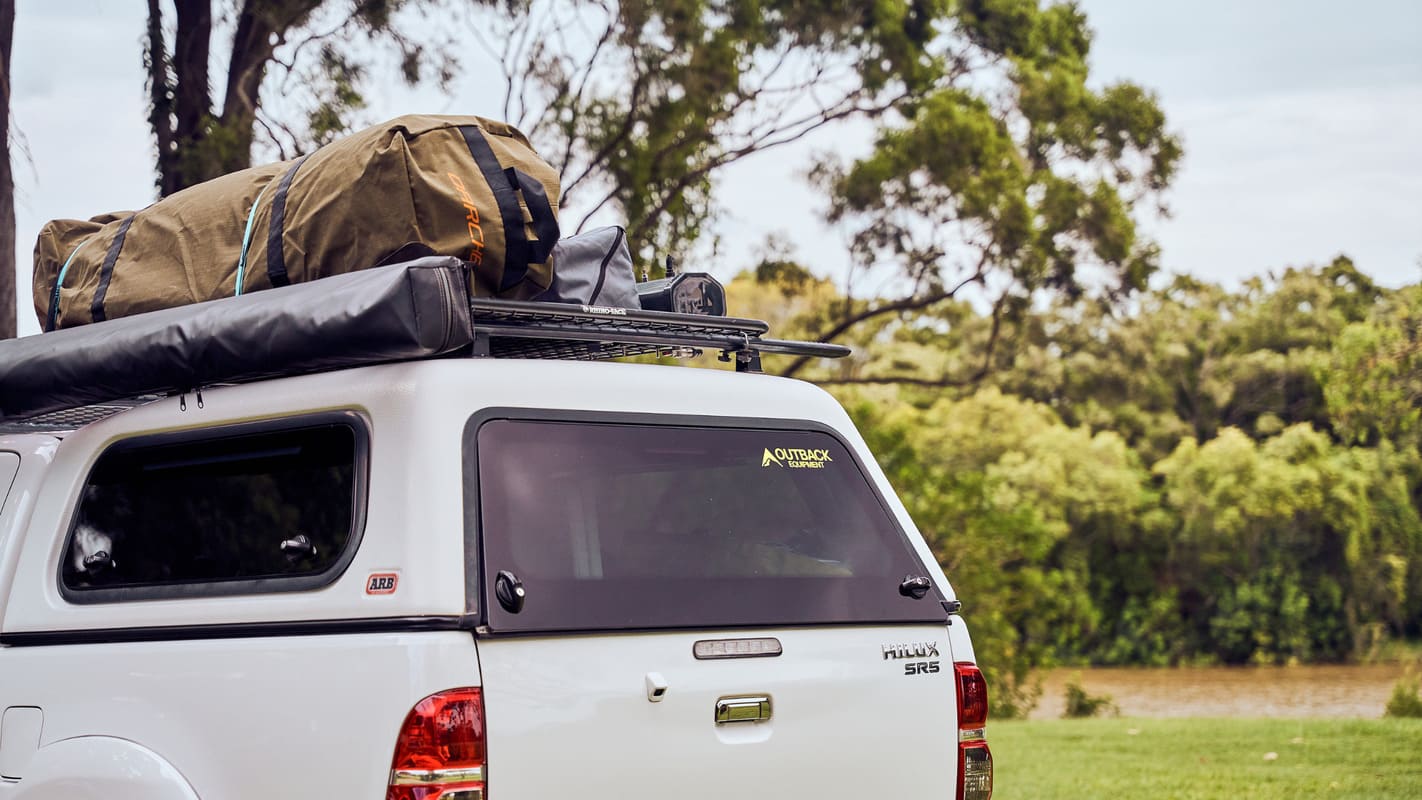
Store It Right
Keep your gear in a cool, dry place — off the ground and out of direct sunlight. Avoid sheds or garages that might trap moisture. Proper storage helps prevent wear and tear, fading, and mouldy surprises down the line.
Re-season Every Year or Two
If your canvas has been in storage for a while, or you notice a drop in water resistance, it’s a good idea to repeat the seasoning process. Aim to re-season every 12 to 24 months, or sooner if your swag has been through heavy rain or long trips in rough weather.
During your 12-24 month re-seasoning, if your well-loved gear still needs some help, grab yourself some extra protection:
- Seam sealer (just in case)
Some seams might still let water seep through after seasoning. If that happens, you may need to apply a seam-sealing product for a better seal. - Optional: Waterproofing spray
For extra peace of mind, a high-quality canvas waterproof spray can help protect against mould, wear and tear, and UV damage over time.
No Backyard? No Worries
Don’t have outdoor space? You can still season your swag on a balcony, in a courtyard, or even in a bathtub (just make sure to dry it somewhere with good airflow afterward). The main goal is to get the canvas fully saturated, then completely dry.
Consider a Canvas Spray
If you're after extra protection on your old swag or tent and it’s not repelling water like it used to, a canvas waterproofing spray can help. It adds a layer that repels water and dirt, especially in high-wear areas like seams and corners. Great for campers who get out into the wild often.
Taking a few of these steps after seasoning will help keep your canvas swags adventure-ready for many years to come.
Gear Up for the Outback
Now that you know how to season your swag or tent the right way, you’re one step closer to a dry, comfortable, and worry-free camping experience. Taking the time to soak the canvas, dry it completely, and repeat the process might seem simple, but it makes a huge difference in durability, waterproofing, and peace of mind when you're out under the stars.
If you’re gearing up for your first trip or getting a new swag ready for many adventures ahead, proper canvas care is key. A properly seasoned swag doesn’t just keep you dry — it keeps you ready for anything the outback throws your way.
Need gear to help you get the job done?
Check out our top-rated seam sealers, canvas sprays, swags and tents built for Australian conditions — all ready to ship Australia-wide.
