How to Cook with a Camp Oven in Australia: A Beginner-to-Bush-Pro Guide
There’s nothing like sitting around a campfire, the stars above, and the smell of dinner cooking in a camp oven. Whether you’re new to camping, travelling with the family, or an experienced bushie, a camp oven is one of the most rewarding pieces of gear you can own.
It’s not just about the food. It’s about slowing down, sharing stories, and making memories. And best of all, it’s easier than you might think.
In this guide, you’ll learn everything you need to know. How to choose the right camp oven, set up your fire, cook great meals, clean your gear, and avoid common mistakes. We’ve even tailored advice for all kinds of campers so you can cook with confidence, no matter your setup.
Let’s fire it up!
What is a Camp Oven?
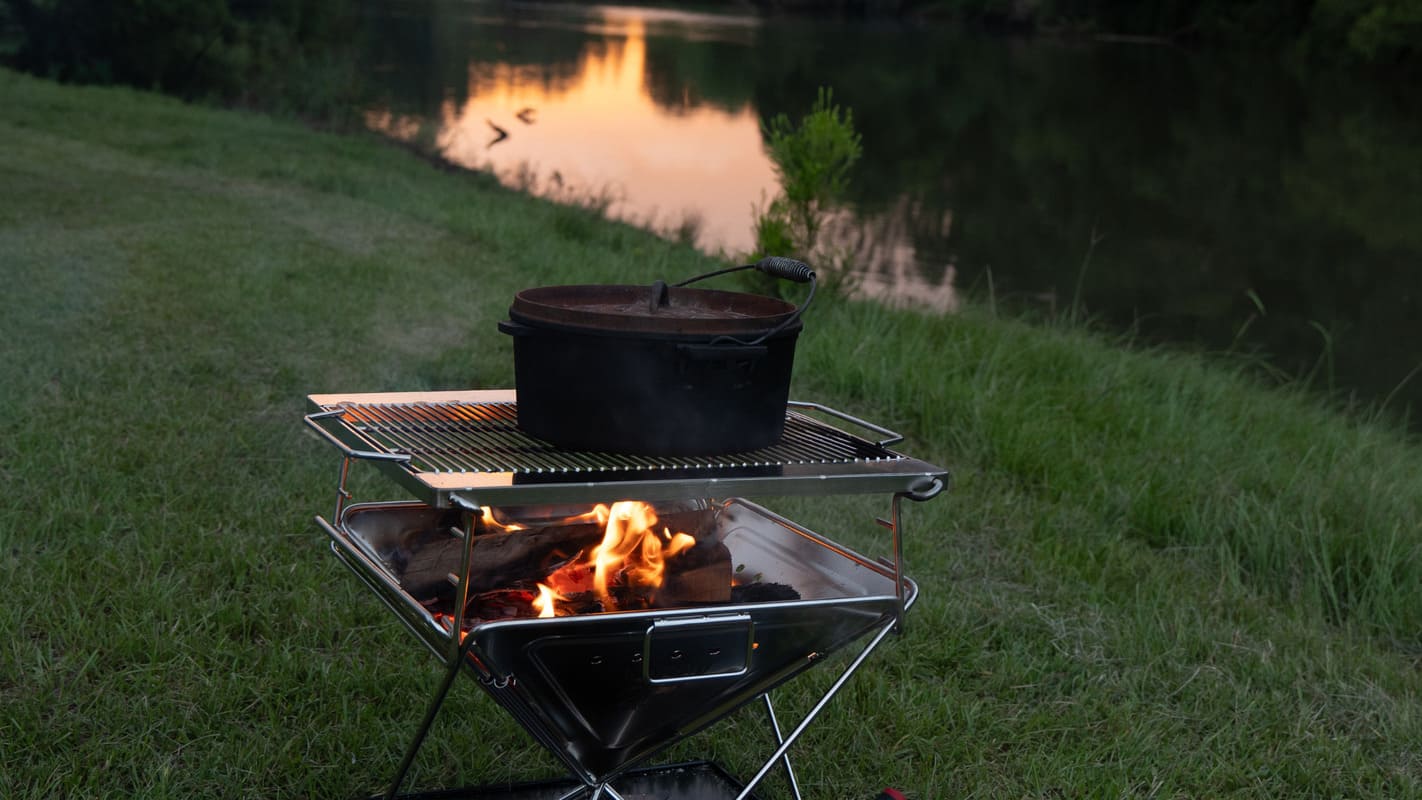
A camp oven is a heavy-duty pot with a lid, made for cooking over a fire. It’s often called a “Dutch oven,” but the Aussie version is built tough for outdoor use. You can bake, roast, boil, and stew, all around the campfire.
Most are made from either cast iron or spun steel:
| Material | Best For | Key Features |
|---|---|---|
| Cast Iron | Slow cooking and heat retention | Heavy, holds heat well, great for roasts and stews |
| Spun Steel | Travelling light and fast cooking | Lighter, heats quickly, easier to carry |
They come in sizes from small 2-quart pots to massive 12-quart ovens. Some have legs and flat lids for stacking coals, while others have smooth bases for use with a trivet or fire pit.
Want to get started? Browse our range of cast iron and spun steel camp ovens built for the Aussie bush.
Choosing the Right Camp Oven for You
Not all camp ovens are made the same and choosing the right one can make a big difference to your cooking experience.
Here’s a quick guide to help you pick the best camp oven for your next trip:
First-Time Campers
Start simple with a smaller cast iron oven (around 4.5 to 9L). It’s easy to use and great for basics like damper or stew.
Try this: Campfire Cast Iron Camp Oven 4.5L a great entry-level option.
Camp Oven Cooking for Families
Go bigger (9 to 12L) for group meals. Look for strong handles and a snug-fitting lid.
Best pick: Aussie Traveller Cast Iron Camp Oven 9QT ideal for hearty family meals.
Seasoned Bush Travellers
Need something lighter? Spun steel ovens are easier to carry and cook faster.
Top choice: Campfire 12 Quart Camp Oven and Canvas Camp Oven Bag perfect for remote camps and quick cooking. Or the spun steel Campboss Ultimate Camp Cooking Bundle | Outback Equipment set.
Don’t Forget the Essentials
To get the most out of your camp oven, you’ll also want to pack:
- Trivet or cake tin rack
- Heatproof gloves
- Lid lifter or multi-tool
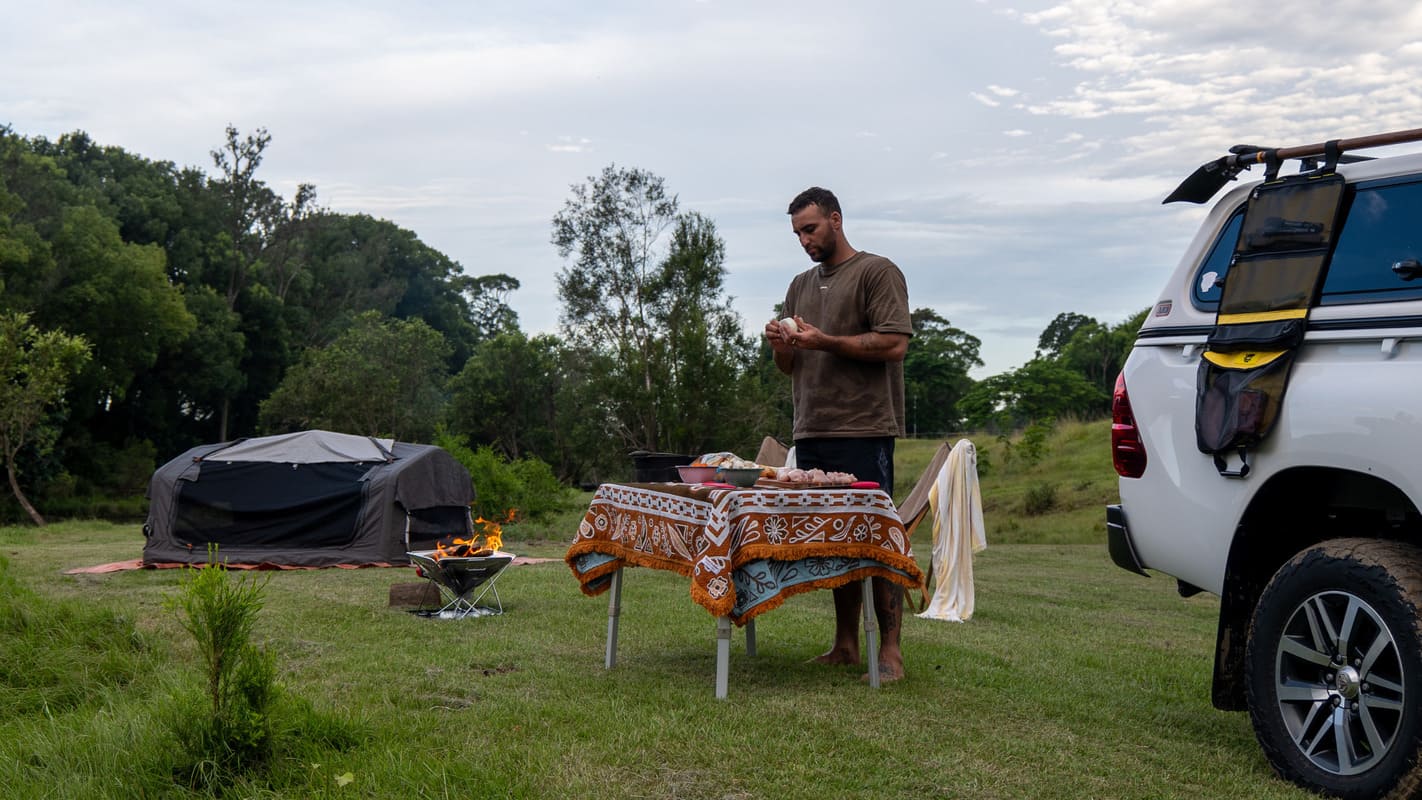
- Foldable fire pit
Explore our full range of camp oven accessories.
Setting Up Your Campfire Cooking Spot
Pick the Right Location
Always use existing fire pits or designated areas where possible. Clear away dry leaves and grass, and make sure your fire is sheltered from strong wind. Keep a bucket of water or sand nearby just in case.
Tip: Many national parks and campgrounds have fire rules, especially in summer. Check local restrictions before lighting up.
Build a Cooking-Friendly Fire
Start your fire early. This style of cooking needs hot coals, not open flames. Burn down hardwood (like ironbark or red gum) until you’ve got a solid bed of glowing coals.
If firewood is limited or banned, you can use charcoal briquettes. They’re consistent, clean-burning, and great for beginners learning heat control.
Control the Heat
To control the heat use a small shovel or tongs to move coals underneath and on top of your oven. More coals means more heat, but don’t go overboard. Too much heat can burn your meal fast.
Pro tip: Rotate the oven every 15–20 minutes to cook food evenly. If your lid supports it, place a few coals on top too.
Gear That Makes It Easier
A few smart accessories can make your setup safer and more enjoyable:
- Lid lifter
- Heat-resistant gloves
- Trivet or rack
- Foldable fire pit
Browse our range of fire cooking gear and accessories for a safer and more efficient setup.
How to Cook with a Camp Oven (Step-by-Step)
Once your coals are ready and your oven is preheated, it’s time to start cooking. Follow these steps to get great results every time.
Step 1 – Preheat the Camp Oven
Put your empty camp oven near the fire or on a bed of coals to warm it up. This helps food cook more evenly and prevents sticking.
Tip: For baking bread or damper, preheating is especially important.
Step 2 – Add Your Food
Whether it’s a roast, stew, or dessert, place your food into the preheated oven. If you’re cooking meat or something prone to burning, use a trivet or cake rack to lift it slightly off the base.
Step 3 – Control the Heat
Place hot coals underneath the oven and a smaller number on the lid. The coals on top act like an oven grill, giving you a nice even bake.
General rule of thumb:
- More coals underneath = hotter bottom (good for stews and boiling)
- More coals on top = hotter top (ideal for baking or roasting)
Use tongs or a small shovel to adjust the amount of heat during cooking.
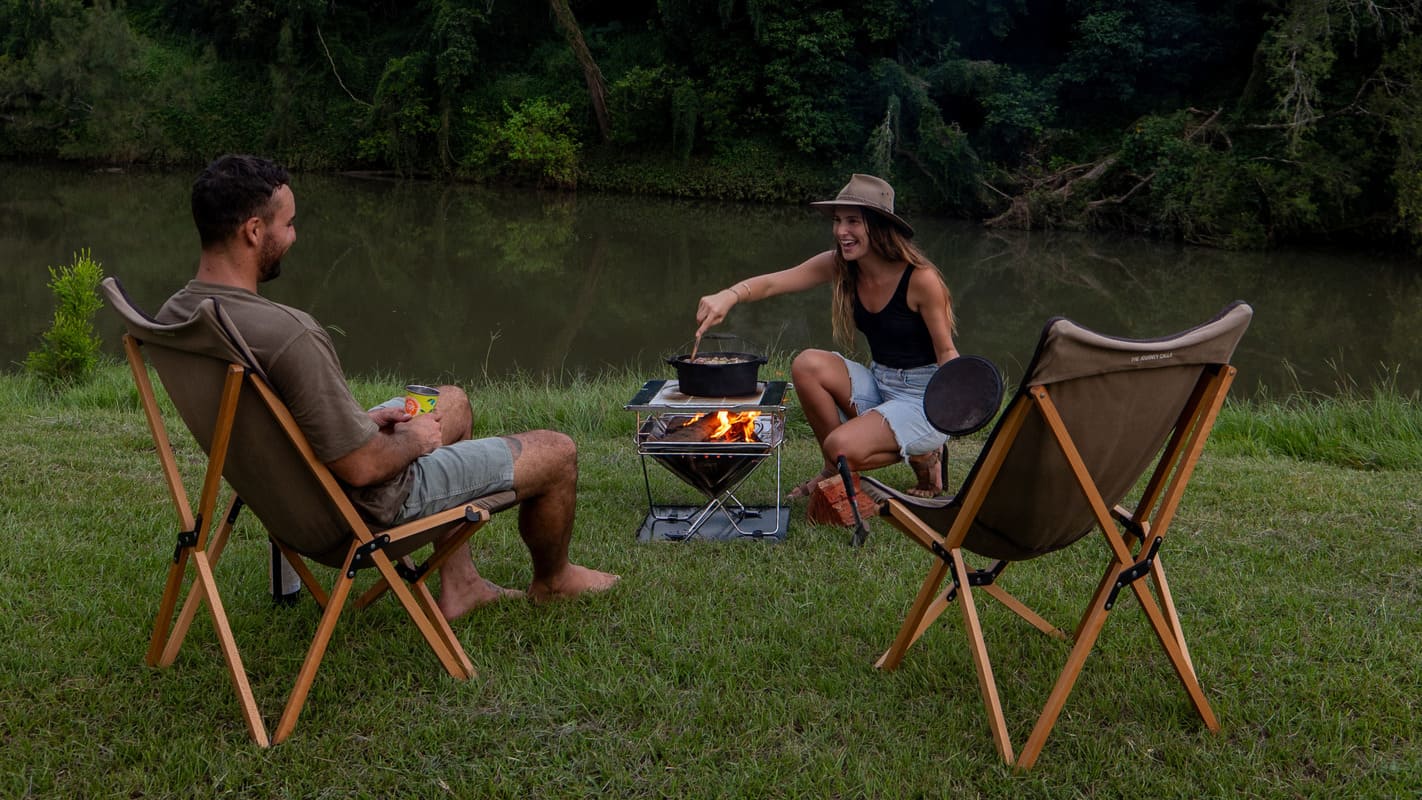
Step 4 – Don’t Peek Too Often
It’s tempting, but every time you lift the lid, heat escapes and adds time to your cook. Try to resist unless you smell burning or need to stir.
Step 5 – Rotate the Oven
To prevent hot spots, turn the oven one way and the lid the other every 15–20 minutes. This helps your meal cook evenly, especially over uneven coals.
Step 6 – Serve and Enjoy
Once your meal is cooked through, carefully remove the oven from the coals and let it rest for a few minutes. Then dig in and enjoy some proper bush tucker.
Tasty Camp Oven Recipes to Try
One of the best things about camp oven cooking is how many different meals you can make with just one pot. Whether you’re after something quick and simple, kid-friendly, or a bit more gourmet, there’s a recipe for every kind of camper.
For Beginners
- Damper: Flour, salt, water. Bake and serve with golden syrup.
- Stew: Beef, potatoes, soup mix. Simmer until tender.
- Baked Spuds: Wrap in foil and cook in coals.
For Families
- One-Pot Pasta: Pasta, sauce, mince, veggies, topped with cheese.
- Chilli Con Carne: Serve with wraps or bread.
- Roast Chicken and Veg: Use a rack to slow-cook evenly.
For Bush Pros
- Lamb Shanks: Brown and slow-cook in red wine and veg.
- Peach Cobbler: Tinned peaches, cake mix, and butter.
- Chocolate Pudding: Self-saucing with hot water over batter.
Cleaning & Caring for Your Camp Oven
A good camp oven can last a lifetime, but only if you look after it properly. Whether you’ve got a cast iron model or a spun steel version, cleaning and seasoning it the right way will keep your meals tasting great and prevent rust.
Quick Clean at Camp
After you’ve finished cooking and your oven has cooled down, use a soft scraper or brush to remove leftover food bits. For most meals, a quick wipe with a paper towel is all you need.
If things are stuck on, pour in a bit of warm water and let it soak (but never soak a cast iron oven for long). Scrub with a brush or wooden spatula. Not metal, as it can damage the surface.
Avoid dish soap. It can strip the seasoning off cast iron and ruin the non-stick surface you've built up.
Deep Clean at Home
Once you're back home, give your camp oven a more thorough clean if needed. For cast iron, follow up with a light coat of cooking oil to keep the surface protected from rust.
Store it with the lid slightly off to let air flow and prevent moisture build-up.
How to Season a Cast Iron Camp Oven
Seasoning is what gives your oven its natural non-stick layer. Here’s how to do it:
- Wash and dry the oven completely.
- Wipe a thin layer of cooking oil (like canola or flaxseed) all over the inside and outside.
- Place it in a hot oven or on a BBQ for about an hour, then let it cool naturally.
- Repeat if needed. The more you cook with it, the better the seasoning becomes.
Tip: Spun steel ovens also benefit from a light oil coat after cleaning, especially around the edges and lid.
Common Mistakes to Avoid
Camp oven cooking is meant to be enjoyable and relaxing, but it’s easy to get caught out if you’re not prepared. Here are the most common mistakes people make, and how to steer clear of them.
Using Too Much Heat
This is the number one mistake. Too many coals under or on top of your oven can quickly burn your food, especially bread or cakes.
Fix it: Start with fewer coals and add more as needed. It’s easier to increase heat than fix burnt dinner.
Cooking Over Open Flame
Camp ovens work best with steady, even heat, not direct flames. Fire can scorch the bottom of your oven and cook things unevenly.
Fix it: Wait until your fire burns down to glowing coals before cooking.
Not Preheating the Oven
Cold cast iron takes time to heat up. If you skip preheating, your food might cook unevenly or take longer than expected.
Fix it: Always warm your oven up for 5–10 minutes before adding food.
Lifting the Lid Too Often
It’s tempting to check on your meal, but lifting the lid lets heat out and messes with cooking time.
Fix it: Trust the process. Only lift the lid when you really need to stir or check if it’s done.
Skipping the Seasoning
If you don’t season your oven properly, food will stick and your gear may rust. Especially with cast iron.
Fix it: Oil and heat your oven regularly. After each trip, give it a quick re-season to keep it in top shape.
Forgetting to Rotate
Campfires don’t give off even heat like your kitchen oven. One side might cook faster than the other.
Fix it: Every 15–20 minutes, rotate the oven and lid in opposite directions for even cooking.
Frequently Asked Questions
What’s the best camp oven size for a family of four?
A 9–12L camp oven is ideal for feeding a family. It gives you enough space to cook one-pot meals like stews, roasts, or pasta without overcrowding the pot.
Browse family-sized camp ovens in our store.
Can I use a camp oven at home?
Yes! If you’ve got a fire pit or BBQ setup at home, you can absolutely use a camp oven there. Some people even use them in their regular oven for that classic slow-cooked flavour.
Just remember: if it’s cast iron, it needs to be seasoned and cleaned properly after each use.
What’s the difference between a Dutch oven and a camp oven?
The terms are often used interchangeably, but here in Australia, a camp oven is usually designed for outdoor fires, often with a flatter lid for coals and legs to sit over hot coals. A Dutch oven is often enamel-coated and made for indoor use.
Can I use my camp oven in the rain or wind?
You can, but it’s a bit trickier. Wind can blow away your heat and make it harder to manage coals. Rain can cool things down too fast or put out your fire.
Tips:
- Use a wind shield or dig a shallow fire pit.
- Cook under cover if possible.
- Use charcoal for more consistent heat.
Check out our wind shields and fire control accessories.
Do I need to season a spun steel camp oven?
Yes. While they don’t need as much care as cast iron, seasoning helps prevent rust and improves cooking performance. Just apply a thin layer of oil after cleaning and heat it up before storing.
Ready to Try Camp Oven Cooking?
Camp oven cooking isn’t just a way to feed yourself on the road, it’s a skill that turns any campsite into a kitchen and every meal into a memory.
Whether you’re baking your first damper, feeding the family by the river, or slow-cooking lamb shanks deep in the outback, the right camp oven setup makes it all possible.
Now that you know how to choose the right gear, cook with confidence, and avoid the common mistakes, there’s only one thing left to do: give it a go.
Explore our full range of camp ovens, fire pits, cooking accessories, and cleaning gear — all built to handle the harsh Aussie outdoors and help you master the art of campfire cooking.
The fire’s ready. What will you cook first? - Shop with All the Gear, More Ideas at Outback Equipment.
