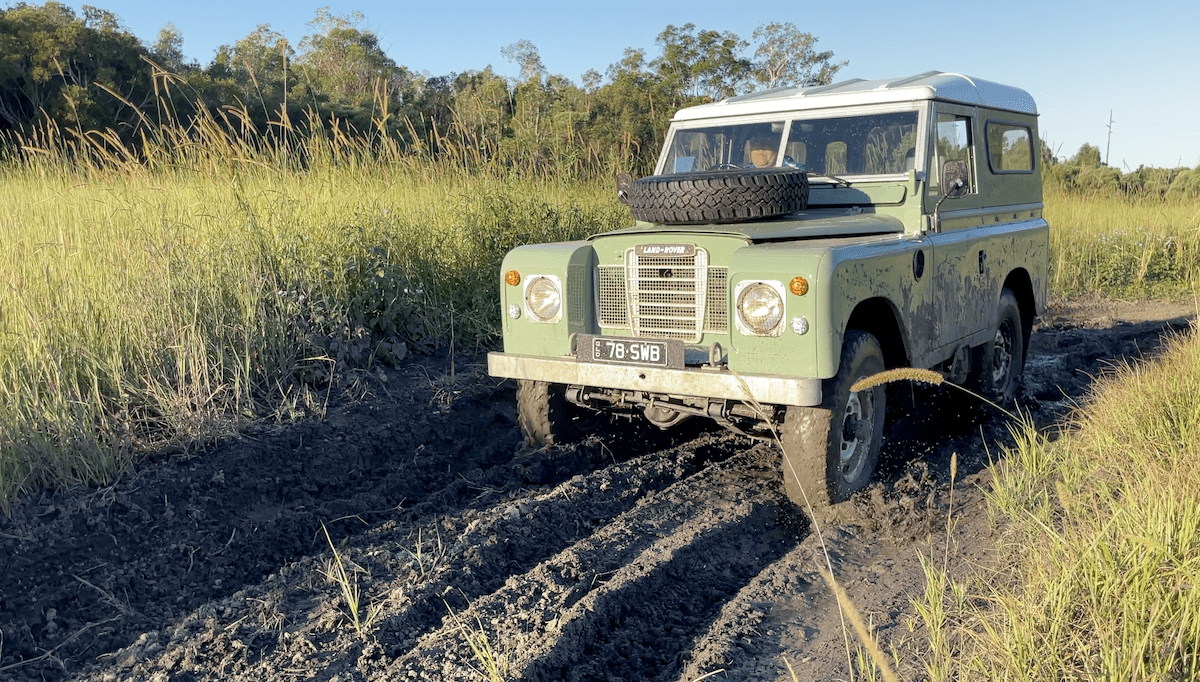
After a long weekend of getting down and dirty in the bush, it’s time to show your 4WD a little TLC to say thanks for all the good memories you made in it. There are literally thousands of products and the 4x4 community can become quite divided on the best methods for vehicle maintenance. Below we’ve consolidated the best tips for adequate 4x4 cleaning and rust prevention starting from the day you purchase it.
1. Undercoating with rust protection
To be clear, this step works the best when the vehicle is fairly new. If there are already rust spots or flaky metal under the chassis of your 4x4, you may want to spend some time sanding back to bare metal and going through the steps of properly treating any affected areas. This method is mainly aimed at those of us who are lucky enough to get their hands on a well-maintained vehicle. If you stick your head under a vehicle and it looks like it’s been coated with black spray paint then it’s likely the previous owner has just done this step. But buyer beware. Some dishonest sellers will do this to get the car into ‘showroom’ condition and it’s hard to tell what kind of state the vehicle was in before. But if all goes well and you’ve made it to this step then congratulations, you are about to extend the life of your car by a few years with just an afternoon of work. If you undercoat a new vehicle, it will help prevent rust from even starting.
You’ll want to be sure the underside is clean and free from as much dust and dirt as possible, so use a pressure washer to blast dirt off and let it completely dry for a few days. There is no need to degrease the underside as it is a rust inhibitor anyway and it keeps all of your important bits in working order. Put on a breathing mask plus some dirty clothes and get down to coating. Try to start in the middle and work your way out as paint tends to drip, so we suggest not ruining a nice clean driveway if you have the choice. By laying down a few big pieces of carboard on some grass you can make yourself comfortable enough to potentially even enjoy the process of getting covered in paint.
While you can’t prevent 100% of rust that appears on a 4x4 chassis, you can certainly minimize it. If you catch it early and coat with a high-quality rust protection (not just spray paint) it will remain in good condition for as long as you keep an eye on it and apply touch ups when needed. Avoid the heart break of realising your engine is perfect but your underbody is falling apart by spending no more than $50 and the day doing your vehicle the biggest favour there is. Get down and dirty for your 4x4, so you can get down and dirty in it for years to come. If you want to get really detailed, heavy duty fish oil is also proven to extend the vehicle life of a 4x4. You can use it on the underbody, inside the engine bay on nuts and bolts or underneath doors and trimmings where small rust bubbles tend to form.
2. The initial soak
There a few different methods to cleaning off caked on mud and dirt from the vehicle. Some people use the old garden sprinkler trick underneath the chassis for 30 mins to soak in, while some people prefer going to a drive through DIY car wash and using a gurney as the excess mud will stay at the car wash and not in your drive way. If it’s a hot day and the lawn looks like it would appreciate an extra drink, do the initial soak over some greenery so it can benefit from the run off. Once you start using soap or chemicals, move onto pavement.
Depending on where you’ll be giving your car a scrub the main thing to do is start at the bottom and work your way up, which gives the underbody time to soak before using the gurney. You can use a degreaser on the underbody to loosen grime and make cleaning easier or hot water, both seem to do the trick. The product doesn’t matter, as long as it says ‘lubricant’ or ‘degreaser’, but Orange Agent from Bowden’s Own is our top pick.
Another hot tip is to wear clothes you don’t mind getting dirty in, cleaning a 4x4 properly can take hours and you will almost certainly get covered in dirt from head to toe. Another important thing to remember is if you’re using a gurney, leave about a 60cm gap between the paint and the high-pressure nozzle to avoid stripping the factory paint. Don’t spray too close to cv boots as they can be torn and don’t spray grease nipples on suspension or any suspension components with grease as they need to be well oiled to keep them operating normally.
If you are at home and have access to a hose connection that has a hook and a smaller outlet, getting a high-pressure nozzle into the chassis rails will flush out salt water and mud that will corrode over time if left as is. You should realistically look at doing this every time you come off the beach or have been driving through salt water. But if you are inland, it’s really only necessary to do this once every 6 months. Some people even swear by a mixture of white vinegar and soap as it is a natural salt neutralizer but hot water and soap seems to do the trick. Check that your diff breathers are not clogged up with mud and make sure the drain holes at the bottom of each door are not blocked with mud. These holes allow water to drain out after each river crossing, so it’s important to make sure they are clear to avoid corrosion inside the door trim.
3. Cleaning the engine bay
Regularly cleaning the engine bay makes servicing the engine much easier, as nuts and bolts tend to be the first thing to go in older models, especially a vehicle that has been exposed to sea water. When washing the engine bay, it’s good practice to make sure the motor is running. You can choose to spray degreaser on it first and use a garden hose only. This method requires you to leave the degreaser to react for 2-3mins and then you can get right in there with a soft brush. It’s recommended not to use high pressure gurney in the engine bay as water will force its way into seals and can bend components in the radiator.
This is the part where really good quality cleaning products make the difference. Grab some Orange Agent, a Little Chubby Brush, a couple of Dirty Deeds cloths from Bowdens Own and get ready to see the sparkle. Spray directly onto the engine bay focusing on dirty areas and scrub. Use a cloth to work in the agent and then thoroughly rinse with a low-pressure hose, taking care around any electrical components, air intakes, alternator, fuse box etc.
Dry the engine bay down with a clean cloth. At this point, you can add some protection to all surfaces with a sealant like the Fully Slick. A sealant or degreaser will not only keep components running smoothly it will also help to keep mud from staining surfaces the next time you go out.
4. Cleaning tyres and wheel arches
Be sure to clean these areas thoroughly, when driving away your tires will kick up dirt that’s left behind straight onto the body of the vehicle you’ve just spent hours polishing. You want to remove as much dirt as you can from the tyres before putting any Tyre Sheen on, and you want to really get in there and clean under the wheel arches. In a similar fashion to the engine bay, you can use Orange Agent and a brush to tackle caked on areas.
If you have more modern wheels with a lot of brake dust, we'd highly recommend using the Wheely Clean on them instead. Spray under the wheel arches and on the inside of rims and tires or they will be out of balance if mud is still present in those hard to see places.
5. Washing the body
Giving the body a rinse with a gurney first is the best way to remove the worst of the grime or salt. This is the first step before using products like Snow Job or Mega Snow Job foams. It’s low PH formula means it’s safe to use regularly on cars, however it will begin to affect weaker sealants over time. Both do a stand-up job of removing salt and getting into nooks and cracks. The Mega Snow Job even has anti-rust attributes, so this one is recommended after a weekend of beach bashing. Always wash out of the sun to avoid streaks and uneven dry times. You only need a thin layer to see the effects of this. Once the foam has soaked in after a 5-10mins hit it with the pressure washer and be amazed by the difference.
6. Drying and protection
Get a Big Green Sucker and spray evenly on both sides with a few squirts of Boss Gloss straight onto the towel. This product is great if your vehicles are often parked in a garage as it will give it that shiny look that will last week's inside. Use the slightly damp cloth to dry. It’s usually best to start with the windows and windscreen and work your way down. The great thing about this cloth is that it holds a huge amount of water so it can easily do multiple vehicles.
After you've washed and dried the car, now is the perfect time to add some epic protection to your paint to help make the car easier to wash the next time you get back from bush bashing. Bead Machine is the most protective sealant Bowdens Own produces, but if you prefer the super slick look and feel then Fully Slick, will give it a different texture, rather than a shiny look.
There are so many different types of waxes and sealants on the market, it’s easy to become overwhelmed by the choice. As long as you’re using the products as per the instructions you’ll be stoked with the results. Giving the underbody of your vehicle one last spray of lubricant or sealant will ensure the mud and grime will come off a lot easier next time and keep the bits under the hood running efficiently. If your one of those people that likes to full send every weekend then things like tyre shine or plastic restorer may not appeal to you as you know everything just gets dirty again, but for those of us who really want to get the most longevity out of our vehicle and it's tyres, then it’s definitely worth it.
By: Jessica Pritchard

.png)
Leave a comment